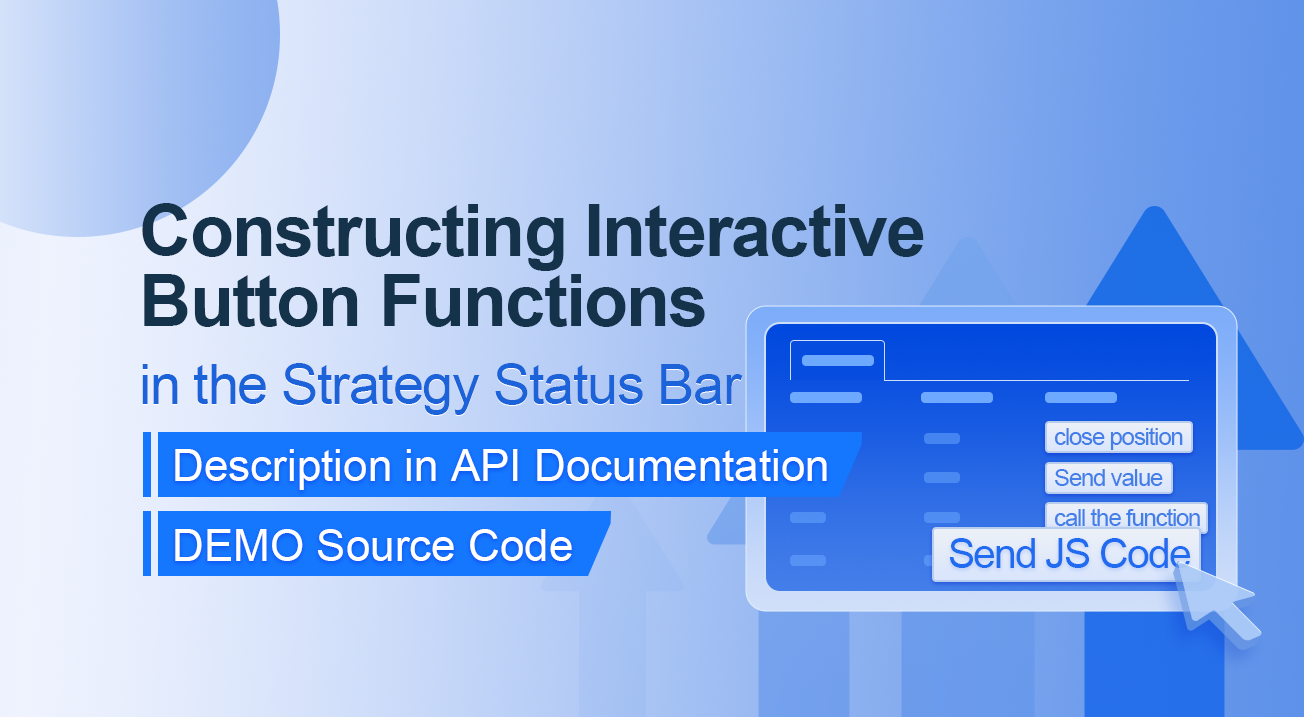
Construire des fonctions de boutons interactifs dans la barre d'état de la stratégie
Auteur:FMZ~Lydia, Créé à partir de: 2023-07-13 14:14:38, Mis à jour à partir de: 2024-01-02 21:29:26
Construire des fonctions de boutons interactifs dans la barre d'état de la stratégie
Description dans la documentation de l'API
// You can also construct a button in the form, and use GetCommand to receive the contents of the cmd attribute.
var table = {
    type: 'table',
    title: 'position operation',
    cols: ['Column1', 'Column2', 'Action'],
    rows: [
        ['abc', 'def', {'type':'button', 'cmd': 'coverAll', 'name': 'close position'}],
    ]
};
LogStatus('`' + JSON.stringify(table) + '`')
// Or construct a separate button
LogStatus('`' + JSON.stringify({'type':'button', 'cmd': 'coverAll', 'name': 'close position'}) + '`')
// Button styles can be customized (bootstrap's button attributes)
LogStatus('`' + JSON.stringify({'type':'button', 'class': 'btn btn-xs btn-danger', 'cmd': 'coverAll', 'name': 'close position'}) + '`')
La documentation de l'API montre que l'affichage de tables, chaînes, images, graphiques, etc. dans la barre d'état de la stratégie est effectué en appelant la fonction API:
LogStatus.Nous pouvons également configurer un bouton interactif en construisant une donnée JSON.
Le code source de la démo:
“
function test1(p) {
Log("Calls a custom function with parameters:", p);
return p;
}
function main() {
while (true) {
var table = {
type: 'table',
title: 'position operation',
cols: ['Column1', 'Column2', 'Action'],
rows: [
['a', '1', {
'type': 'button', // To display a button, you must set the type to button.
'cmd': "CoverAll", // String, sent data, accepted by the GetCommand() function.
'name': 'close position' // The name displayed on the button.
}],
['b', '1', {
'type': 'button',
'cmd': 10, // numerical value
'name': 'Send value'
}],
['c', '1', {
'type': 'button',
'cmd': _D(), // The function is called for the duration of the strategy run
'name': 'call the function'
}],
['d', '1', {
'type': 'button',
'cmd': 'JScode:test1("ceshi")', // String, the JS code to execute.
'name': 'Send JS Code'
}]
]
};
LogStatus('
+ JSON.stringify(table) + ` )
    var str_cmd = GetCommand();
    if (str_cmd) {
        Log("Received Interaction Data str_cmd:", "type:", typeof(str_cmd), "value:", str_cmd);
    }

    if (str_cmd && str_cmd.split(':', 2)[0] == "JScode") {          // Determine if there is a message
        var js = str_cmd.split(':', 2)[1];                          // Split the returned message string, limit it to two, and assign the element with index 1 to a variable named js.
        Log("Execute debugging code:", js);                                     // Output executed code
        try {                                                       // Abnormal detection
            eval(js);                                               // Executes the eval function, which executes the parameters (code) passed in.
        } catch (e) {                                               // throw an exception
            Log("Exception", e);                                    // Output error messages
        }
    }

    Sleep(500);
}
}
Let's run it. The strategy runs as shown:

We can trigger the interaction by clicking on the buttons in the table on the status bar. We will click on the "Close Position" and "Send Value" buttons in turn.
When we click on the "Close Position" button, the message will be sent as normal:


Mais cela ne fonctionne pas lorsque vous cliquez sur
Envoyer la valeur parce que[ 'cmd': 10, // valueLes types numériques ne peuvent pas être envoyés.[Construction de bâtiments]Les fonctionnalités de bouton interactif dans la barre d'état de la stratégie](/upload/asset/2d8e0f86599f1b82da792544b7b840bc824d4a96.png)
Il a été optimisé pour être compatible avec les valeurs numériques et renvoie une chaîne de valeurs.
”`
Ensuite, nous cliquons sur le bouton
Les données reçues sont imprimées dans le journal:


Enfin, cliquons sur le bouton Envoyer du code JS et nous pouvons exécuter la fonction personnalisée que nous avons utilisée pour tester dans notre code.
function test1(p) {
    Log("Calls a custom function with parameters:", p);
    return p;
}
Cliquez sur le bouton:


Vous pouvez voir que l'expression Log ((
Appel de fonction personnalisée avec les paramètres: , p); dans la fonction test1 a été exécutée.
En insérant

Commencez à vous entraîner tout de suite!
- Réflexion sur les stratégies de trading à haute fréquence (4)
- Réflexions sur les stratégies de négociation à haute fréquence (3)
- Réflexion sur les stratégies de trading à haute fréquence (3)
- Réflexions sur les stratégies de négociation à haute fréquence (2)
- Réflexion sur la stratégie de trading à haute fréquence (2)
- Réflexions sur les stratégies de négociation à haute fréquence (1)
- Réflexion sur les stratégies de trading à haute fréquence (1)
- Document de description de la configuration des titres Futu
- FMZ Quant Uniswap V3 Guide des opérations liées à la liquidité des fonds communs de change (partie 1)
- FMZ quantifier Uniswap V3 pour les opérations liées à la fluidité des bassins de change (part 1)
- Paramètres de l'interface de stratégie
- Guide d'utilisation du WebSocket de la plateforme quantitative de crypto-monnaie FMZ (explication détaillée de la fonction de numérotation améliorée)
- Cours rapide en Python en X minutes
- Cours rapide en JavaScript en X minutes
- En ce qui concerne la façon de placer des ordres de limite post-uniquement BitMEX et des ordres par lots en utilisant IO (un exemple)
- Bibliothèque open source FMZ Quant TA, apprenez à l'utiliser (avec les versions Javascript/Python/C++)
- FMZ Quant Trading Platform Protocole personnalisé Accès aux échanges personnalisés
- FMZ a lancé le moteur local de test de Python.
- Tutoriels avancés pour la rédaction de stratégies de plateforme FMZ Quant
- Application de la fonction "__Thread" dans la conception de stratégie JavaScript