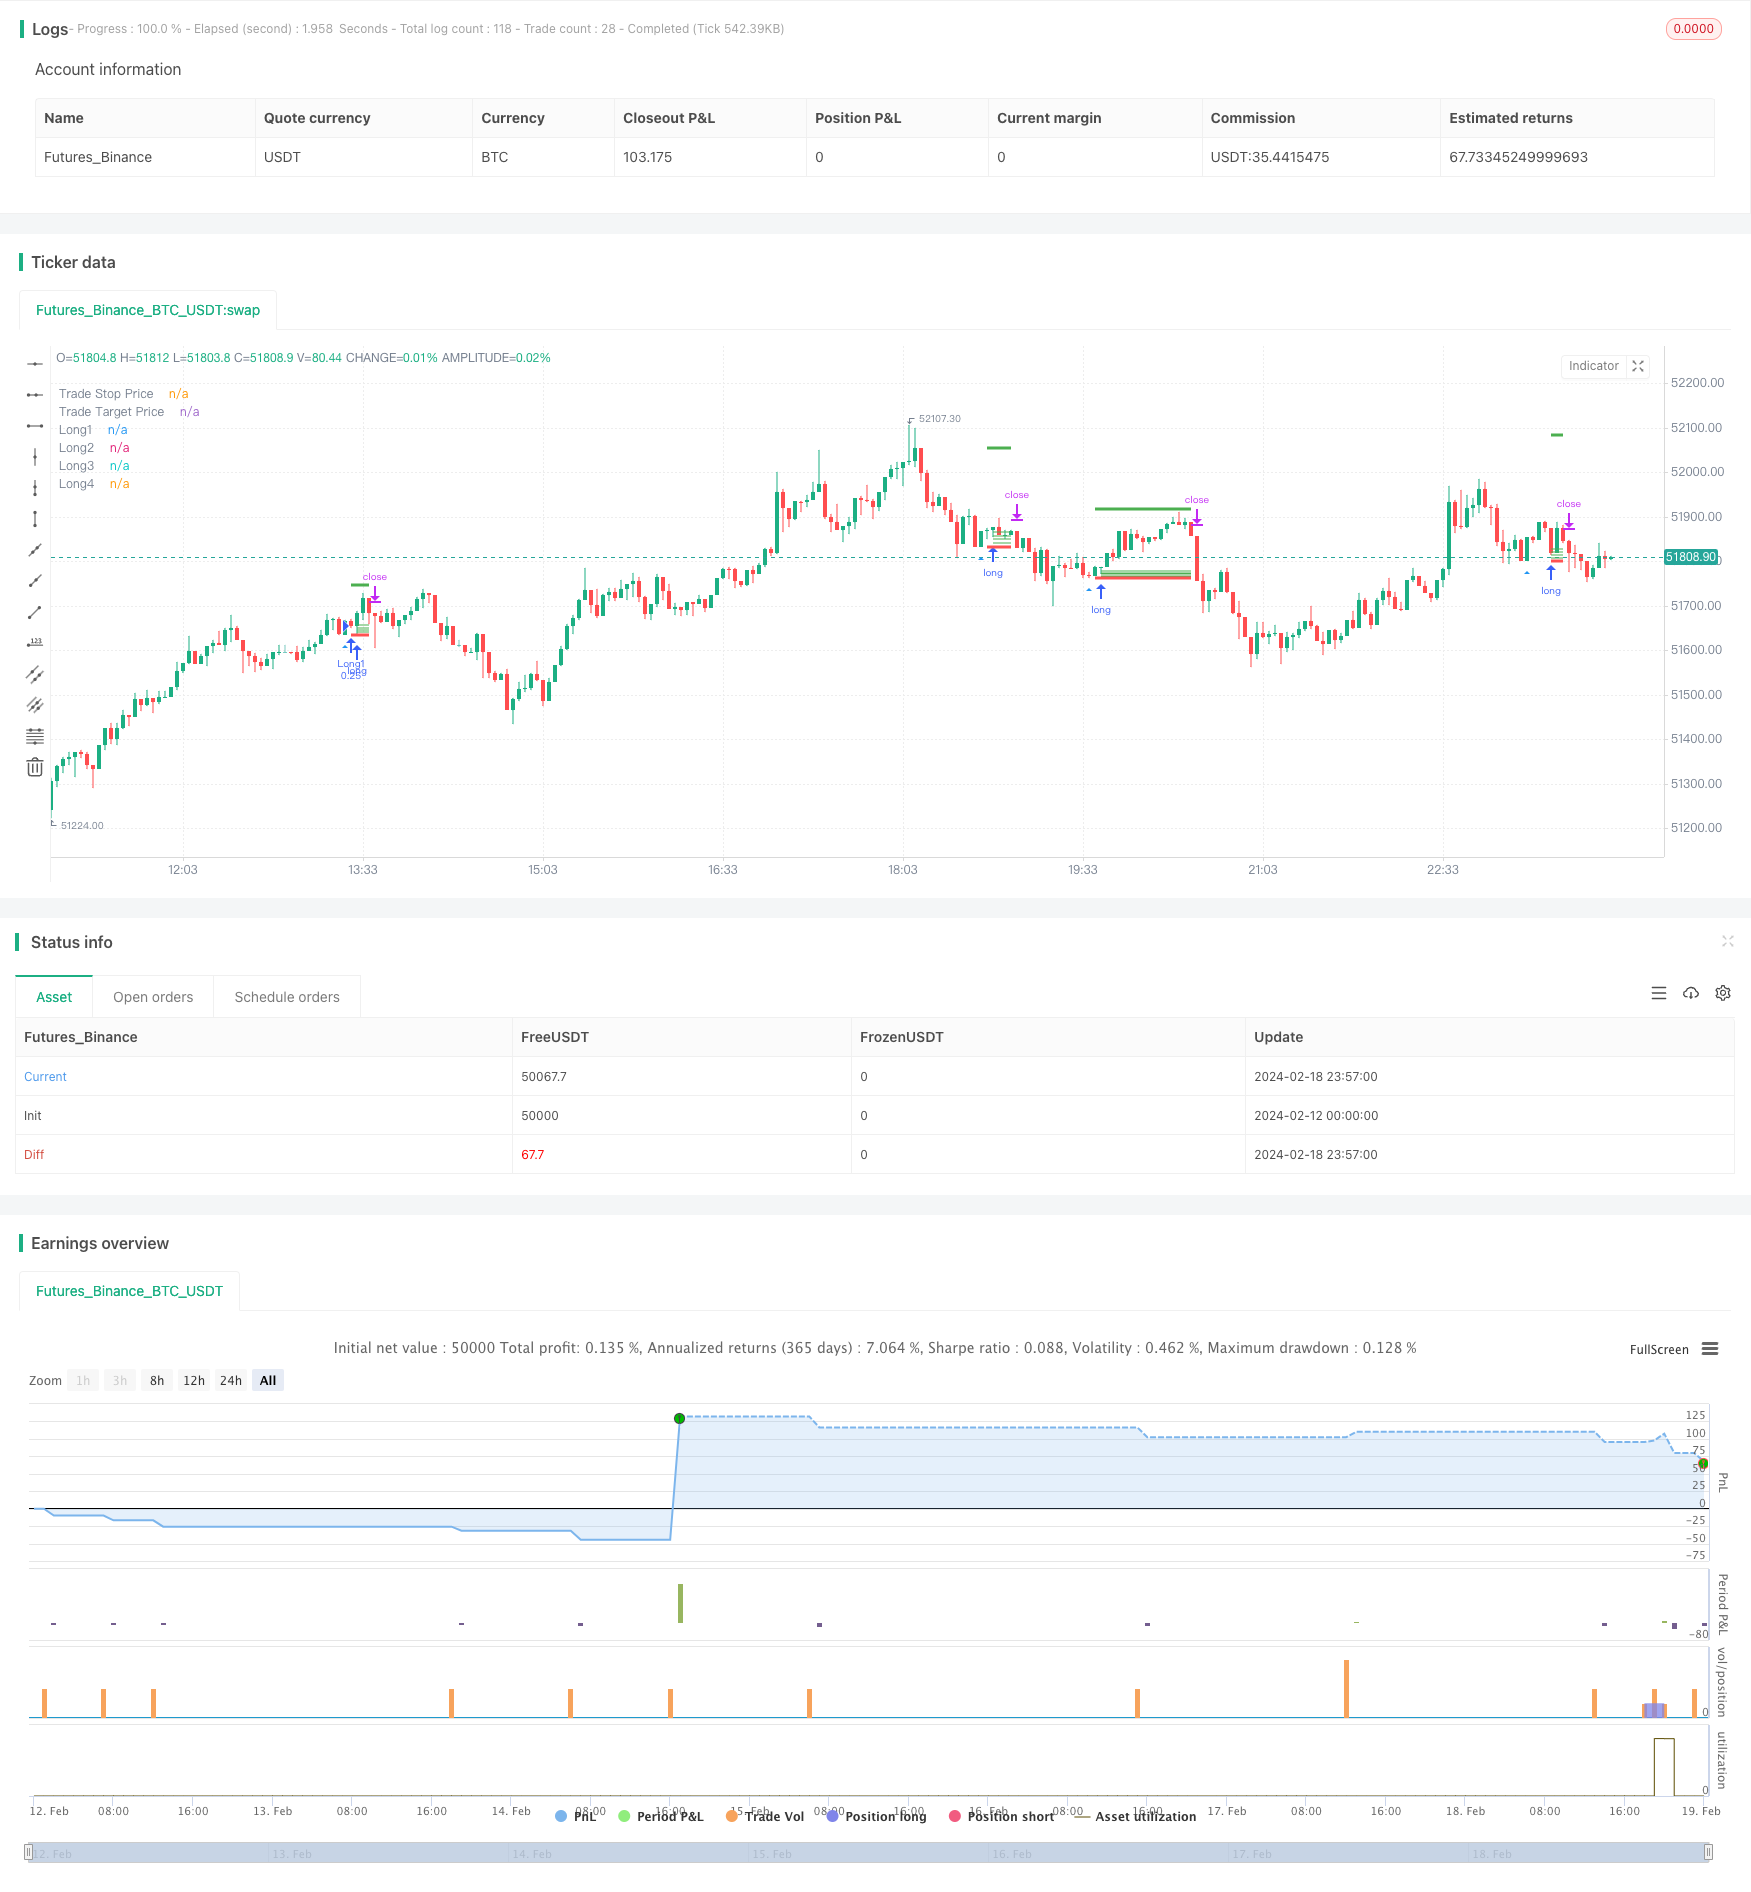
Double Bottom Reversal Mean Reversion DCA Grid Strategy
Author: ChaoZhang, Date: 2024-02-20 11:09:33Tags:

Overview
The Double Bottom Reversal Mean Reversion DCA Grid strategy mainly applies the mean reversion price and DCA strategy to implement gradual position building. It determines reversal opportunities based on the double bottom reversal pattern. Once the reversal pattern is triggered, it uses multiple limit orders at different prices combined with DCA to establish gradual grid positions.
Strategy Logic
The strategy first checks if there are two consecutive closing prices equal to the bottom on the candlestick chart, which is called a “double bottom”. If a double bottom is detected, it considers there may be a price reversal opportunity. At this point, the strategy will set multiple limit orders around the bottom price. The prices of these orders will be calculated based on ATR and volatility, forming a grid zone. This achieves the DCA effect and allows traders to gradually build positions at different prices after the reversal.
Specifically, the ATR indicator over the recent 14 candlesticks is first obtained through ta.atr. Then the price volatility over the recent 5 candlesticks is calculated. They are the main parameters used to determine the grid zone. The grid contains 4 price levels - bottom price + volatility, bottom price + 0.75 * volatility, and so on. Once the double bottom condition triggers, 4 limit orders with equal size will be placed according to this formula. The unfilled orders will be cancelled after several candlesticks.
In addition, the strategy also sets a stop loss price and a take profit price. The stop loss price is set to the lowest price of the double bottom minus one tick size, while the take profit price is set to the entry price plus 5 times the ATR. These two prices will update in real-time when the position size is greater than 0.
Strengths
The main advantages of this strategy are:
- Using double bottom to determine reversal improves accuracy and avoids false breaks.
- The DCA grid allows traders to gradually build positions at different prices, lowering cost basis.
- Dynamic ATR and volatility parameters adjust grid and profit range based on market changes.
- Auto stop loss effectively controls per trade loss amount.
Risk Analysis
Major risks:
- Price may break through support without reversal, triggering stop loss and losses. Widen stop loss distance for protection.
- Improper DCA grid setting may lead to low fill rate. Test different parameters to ensure fill rate.
- Frequent take profit with whipsaws in volatile market. Consider allowing wider take profit multiples.
Improvement Areas
Some areas that can be improved:
- Add trend judgment, only trade reversals along the major trend to avoid losses.
- Consider larger size for first entry and smaller sizes for grid entries to optimize capital usage efficiency.
- Test different parameter combinations to find optimum parameters. Or design dynamic adjusting logics.
- Integrate machine learning in advanced platform to achieve auto parameter optimization.
Summary
The Double Bottom Reversal Mean Reversion DCA Grid Strategy consolidates price pattern, indicator techniques and grid trading. It has accurate timing, controllable cost basis and drawdown protection. Still has room for optimization and is worth researching. Properly configured, can achieve good results in range-bound markets.
/*backtest
start: 2024-02-12 00:00:00
end: 2024-02-19 00:00:00
period: 3m
basePeriod: 1m
exchanges: [{"eid":"Futures_Binance","currency":"BTC_USDT"}]
*/

// This source code is subject to the terms of the Mozilla Public License 2.0 at https://mozilla.org/MPL/2.0/
// © cherepanovvsb

//@version=5
strategy("Reversal (only long)", overlay=true, margin_long=1, margin_short=1,initial_capital=1000,commission_type = strategy.commission.percent,commission_value =0.1,currency='USD', process_orders_on_close=true)
plotshape(low == low[1], style=shape.triangleup, location=location.belowbar, color=color.blue, title="1 Setup")
plotshape(low == low[1] and low[1]==low[2], style=shape.triangleup, location=location.belowbar, color=color.red, title="Triple Setup")

ATRlenght   = input.int(title="ATR length for taking profit", defval=14, group="Strategy Settings")
rewardMultiplier= input.int(title="ATR multiplier", defval=5, group="Strategy Settings")
Volatility_length=input.int(title='Volatility length',defval=5,group="Strategy Settings")
Volatility_multiplier=input.float(title='Volatility multiplier',defval=0.5,step=0.1, group="Strategy Settings")
Candles_to_wait=input.int(title='How many candles to wait after placing orders grid?',defval=4,group="Strategy Settings")

// Get ATR
atr1 = ta.atr(ATRlenght)

//Get volatility values (not ATR)
float result = 0
for i = 0 to Volatility_length
	result+=high[i]-low[i]
volatility=result*Volatility_multiplier/Volatility_length

//Validate entrance points
validlow =  low [2]== low[1] and not na(atr1)
validlong = validlow and strategy.position_size == 0  and low[1]<low


// Calculate SL/TP
longStopPrice = low[1]-syminfo.mintick
longStopDistance = close - longStopPrice
longTargetPrice = close + (longStopDistance * rewardMultiplier)
strategy.initial_capital = 50000
//Assign all variables
var tradeStopPrice = 0.0
var tradeTargetPrice = 0.0
var point1=0.0
var point2=0.0
var point3=0.0
var point4=0.0
var contracts = int(strategy.initial_capital/close)/4
if validlong
    tradeStopPrice := longStopPrice
    tradeTargetPrice := longTargetPrice
    point1:=low[1]+volatility
    point2:=low[1]+volatility*0.75
    point3:=low[1]+volatility*0.5
    point4:=low[1]+volatility*0.25

strategy.entry ("Long1", strategy.long,limit=point1,qty=contracts, when=validlong)
strategy.entry ("Long2", strategy.long,limit=point2,qty=contracts, when=validlong)
strategy.entry ("Long3", strategy.long,limit=point3,qty=contracts, when=validlong)
strategy.entry ("Long4", strategy.long,limit=point4,qty=contracts, when=validlong)

stopcondition = ta.barssince(validlong) == Candles_to_wait

strategy.cancel("Long1",when=stopcondition)
strategy.cancel("Long2",when=stopcondition)
strategy.cancel("Long3",when=stopcondition)
strategy.cancel("Long4",when=stopcondition)

strategy.exit(id="Long Exit", limit=tradeTargetPrice, stop=tradeStopPrice, when=strategy.position_size > 0)

plot(strategy.position_size != 0 or validlong ? tradeStopPrice : na, title="Trade Stop Price", color=color.red, style=plot.style_linebr, linewidth=3)
plot(strategy.position_size != 0 or validlong ? tradeTargetPrice : na, title="Trade Target Price", color=color.green, style=plot.style_linebr, linewidth=3)

plot(strategy.position_size != 0? point1 : na, title="Long1", color=color.green, style=plot.style_linebr, transp=0)
plot(strategy.position_size != 0? point2 : na, title="Long2", color=color.green, style=plot.style_linebr, transp=0)
plot(strategy.position_size != 0? point3 : na, title="Long3", color=color.green, style=plot.style_linebr, transp=0)
plot(strategy.position_size != 0? point4 : na, title="Long4", color=color.green, style=plot.style_linebr, transp=0)
- Cross Moving Average Reversal Strategy
- Rate of Change Optimization Strategy
- Multi-Period Moving Average Channel Trend Following Strategy
- Strategy of Indicators Combination Breakthrough Trend Tracking
- Accumulation Stage Identifier and Trading Strategy
- OBV, CMO and Coppock Curve Based Trading Strategy
- CDC Action Zone Strategy
- Multi-factor Quantitative Trading Strategy
- Trend Following Strategy Based on Smoothed Deviation
- Ichimoku Cloud Oscillator Trading Strategy
- Assassin's Grid B – A Dynamic Grid Trading Strategy
- Multi Timeframe Moving Average Crossover Strategy
- Adaptive Zero Lag Exponential Moving Average Quantitative Trading Strategy
- Momentum Brick Strategy
- Volatility Breakout Reversal Trading Strategy
- Candle Patterns Trading Strategy
- ADX-Filtered SuperTrend Pivot Trading Strategy
- Momentum Moving Average Reversal Strategy
- Momentum Moving Average Crossover Trading Strategy
- Momentum Trend Synergy Strategy